Manually Install Coppermine
Hi! I’m here with a manual installation tutorial. It’s really short and to the point, so here we go.
- 1. Download the latest version of coppermine via http://coppermine-gallery.net/
- 2. Unzip it all on your computer to check to make sure the zip doesn’t have any errors. Inside of the folder should look like this (view is in small icons)
- 3. Upload ALL files for coppermine onto your server via ftp. (you can also zip the files INSIDE of the folder like the cap I linked to and upload via cpanel, then unzip – if that is better) You can upload it to photos/gallery whatever suits you.
- 4. Sign into cpanel and click on MySQL® Databases
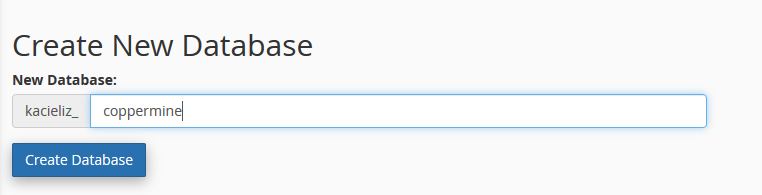
- 5. Create a database [ see here ]
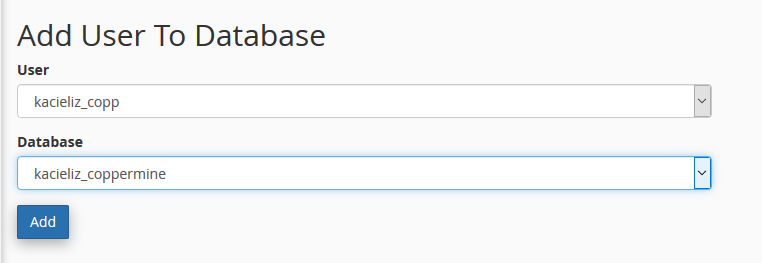
- 6. Create a user / set the password (make sure to copy the password down for future reference) [ see here ]
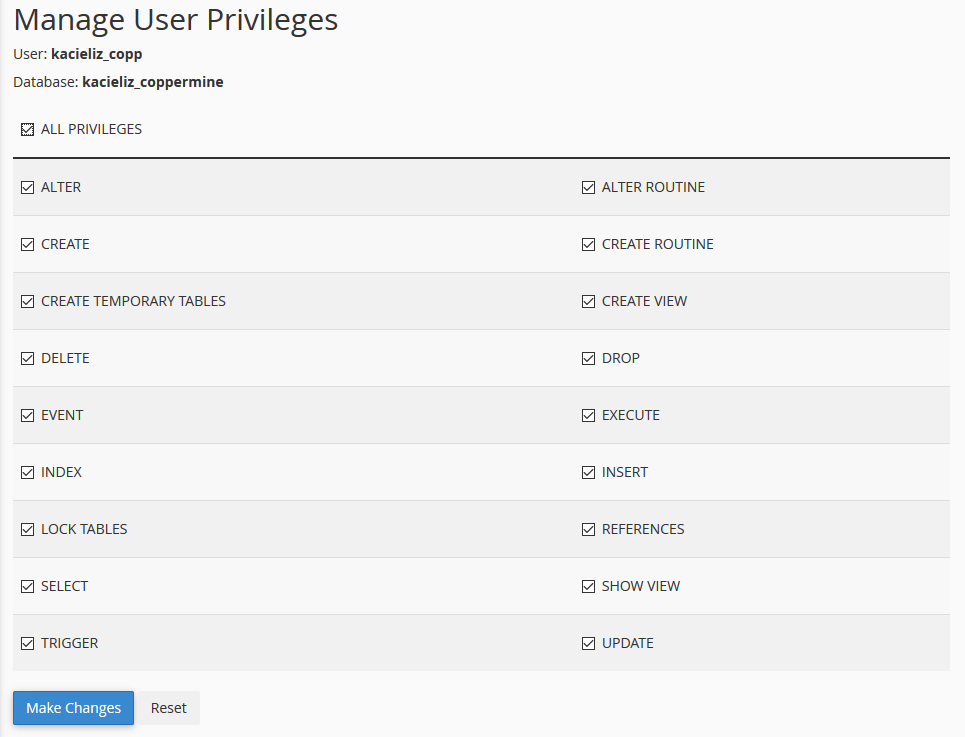
- 7. Add User To Database: [ see here ] / set permissions for ALL. [ see here ]
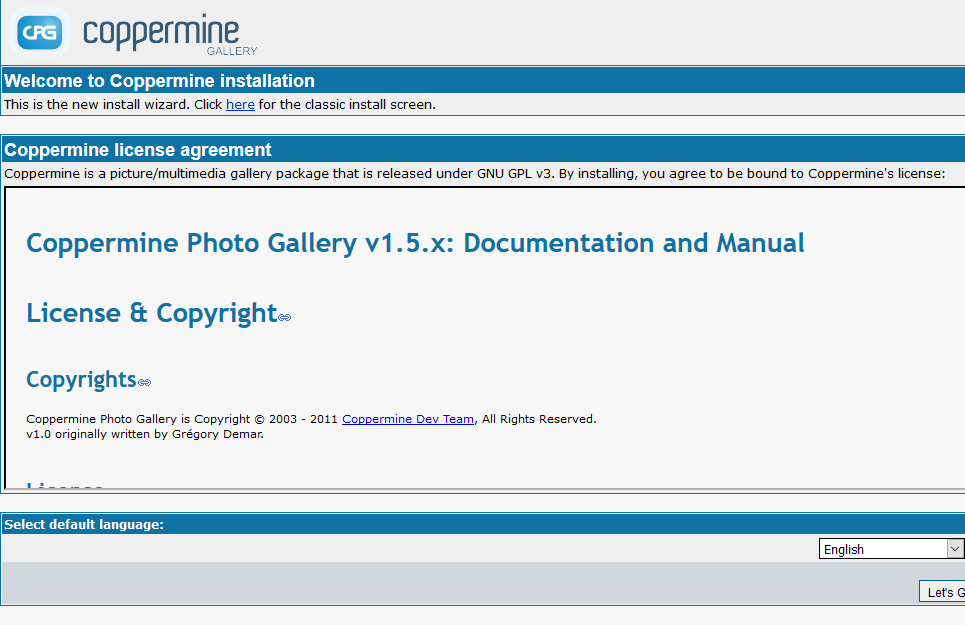
- 8. Now navigate to wherever you installed your coppermine. www.DOMAIN.com/photos or www.DOMAIN.com/gallery
- 9. You’ll see something like this – click the CLASSIC install, you’re more likely to have no errors this way.
- 10. Fill in all of the info, here is mine
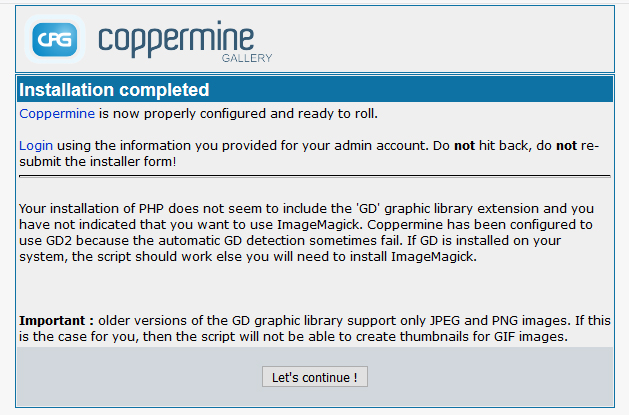
- 11. You might see something like this which is just letting us know that it has set itself to GD 2 instead of the other options.
- 12. Click Let’s continue
- 13. You’re now logged in! you can create your categories and albums with ease as well as upload.
You did a great job! Give yourself a pat on the back or a cookie <3
If you have any questions, ask below. 🙂
If this tutorial helped you, please consider buying me a coffee using Ko-Fi.